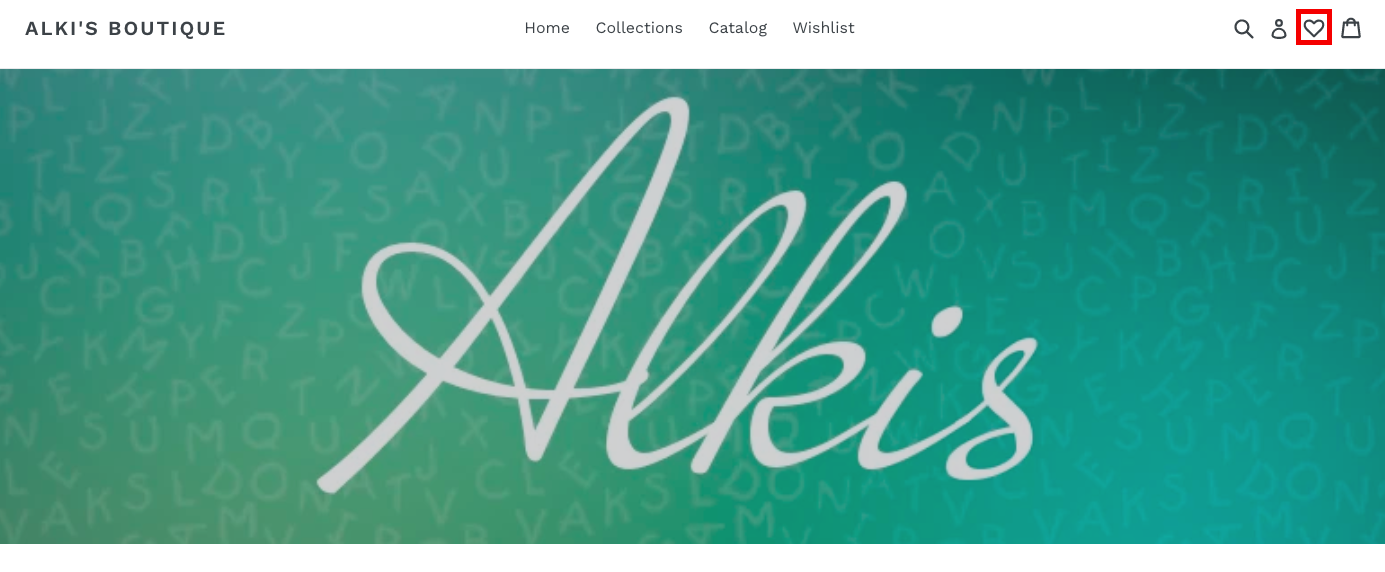
The Wishlist Plus app offers a couple of default options for your launch point – you could either add a floating button to a location of your choice on your site, or add a menu item to your site’s navigation menu. While those work well for certain themes, adding the entry point as a clickable button/icon on the header menu is a popular ask from some of our customers based on their site design and layout. The requests frequently ask for the “Wishlist” launch button to be placed between “Account” and “Cart/Bag” like the image below.
If you’d like to do this on your store, you can take a look at this video below or follow the steps outlined in this article.
There are three options that will help you enable a link to the Wishlist page from your header menu.
Option 1: Heart icon as a launch point in the header menu
Option 1A: Themes that use font-awesome [Recommended]
It is quite easy to enable the heart icon to the site’s header menu if your Shopify site uses font-awesome. The heart icon would load with the rest of the assets, without you having to include code for its style to match with the rest of the website’s theme. Follow the steps outlined below to enable a font-awesome heart icon
- Identify the nav bar liquid file that has the code for the account and cart. The liquid file varies based on the theme your site is built with, here are some of the files that we have seen the code is placed in:
- sections/header.liquid
- snippets/header-bar.liquid
- layout/theme.liquid
- Insert the code below at the place where you’d want the font-awesome heart icon to appear
<a href="#swym-wishlist" class="swym-wishlist">
  <i aria-hidden="true" focusable="false" role="presentation" class="fa fa-heart"></i>
</a>
Option 1B: Themes that do not use font-awesome
1. Identify the nav bar liquid file which has the code for the account and cart. As mentioned above it varies and here are some of the files that we have seen the code could be at
- sections/header.liquid
- snippets/header-bar.liquid
- layout/theme.liquid
2. If you want the heart icon to show up, insert the code below at the place where you’d want the icon to appear. We have included some default CSS styling, please feel free to edit/remove the styles as per the rest of the header menu buttons
- HTML
<a href="#swym-wishlist" class="swym-wishlist">
  <i aria-hidden="true" focusable="false" role="presentation" class="icon icon-swym-wishlist"></i>
</a>- CSS
i.icon-swym-wishlist {
font-family: 'swym-font';
font-style: normal;
vertical-align: middle;
}
i.icon-swym-wishlist+span {
vertical-align: middle;
}
i.icon-swym-wishlist:after {
content: '';
font-size: 130%;
line-height: 18px;
text-align: center;
display: inline;
}
/*content rendered after swym is ready to avoid showing block/invalid chars*/
.swym-ready i.icon-swym-wishlist:after {
content: '\f004';
}
Option 2: Wishlist text link as a launch point in the header menu
Identify the nav bar liquid file which has the code for the account and cart. Based on the theme, it varies and here are some of the files that we have seen the code be at
- sections/header.liquid
- snippets/header-bar.liquid
- layout/theme.liquid
If you want the text “Wishlist” to show up, just insert the piece of code as shown where you want “Wishlist” to appear. Remember to alter the CSS style of the element, to suit your theme and the header menu style.
Note that some of these themes have a different mobile liquid file for navigation. Please check the mobile version as well and follow steps 1-3 if the mobile liquid file is different.
Related article: Enabling Menus and Links for your Shopify store from Shopify Help center
Option 3: Upload an image and link the Wishlist page to it
From Shopify admin console:
1. Upload image of the icon on your site’s ‘Assets’ liquid file, and get the URL address of this image. Ensure the dimension is sized down to suit the other icons in the header
2. Identify the liquid file that houses the code for the header menu. As mentioned previously we have seen the header menu code can be found in the liquid files below depending on the theme your site is on:
- sections/header.liquid
- snippets/header-bar.liquid
- layout/theme.liquid
3. Create the code to enable Wishlist launch point using the image on the header menu. Save and view the changes.
- Retain the <div..> class’ code and replace the <a href..> code with the code below
- Alter the CSS style of the element, to suit your theme and the header menu style
- Then, click ‘Save’ to save the changes made to the liquid file, and view your site in a fresh incognito session to check for the changes
<a href="#swym-wishlist" class="swym-wishlist">
  <img src=  "<<Replace With URL from Step 1>>">
</a>
While we’ve tested these steps extensive, there are some themes where some styling changes might be needed to seamlessly integrate the Wishlist Plus launch button. If you find that to be the case with your site, or if you have any further queries on adding the wishlist link to the header menu, or would like to make any changes, please email us and we’ll be happy to help.
Info for the Support Agent eyes only.
ogfhergoknregov[
Was this article helpful?
That’s Great!
Thank you for your feedback
Sorry! We couldn't be helpful
Thank you for your feedback
Feedback sent
We appreciate your effort and will try to fix the article